
Define the intended finish
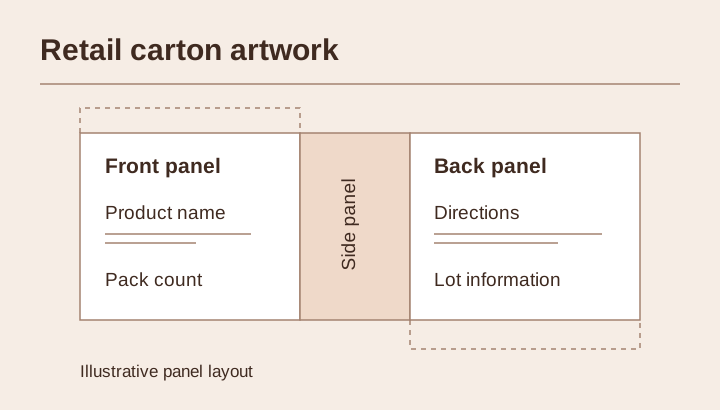
Identify the front panel and mark the logo at its final dimensions. Specify whether the detail should be raised, recessed or foil stamped. Separate the finish artwork from the printed colour layer. Ask the converter to identify practical limits for fine lines and clear space on the selected board.
Handle the folded proof
View the finished panel straight on and at an angle under the same light as an approved reference. Inspect artwork near edges and folds, especially when the box is full. Open and close the flap and note any visible cracking, distortion or interference between the finish and the folding features.
Record the approved combination
Keep a flattened proof for artwork and a completed carton for appearance. Identify the board grade, finish reference and revision represented by each. If a design switches from a flat printed mark to a relief finish, ask whether tooling, setup and usability samples must be updated.
Frequently asked questions
Can a digital rendering show the finished embossing?
A rendering can communicate the intended location and appearance. Request a physical proof on the proposed board to assess relief, alignment and reflections on the folded carton.